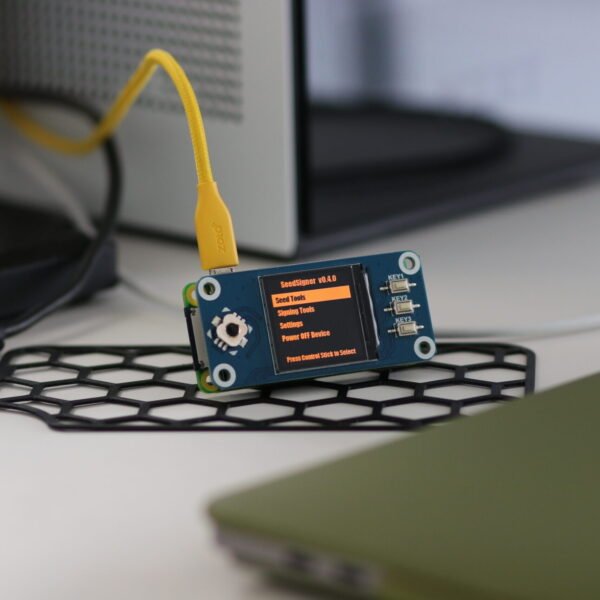
Quick Installation
Easy Build Instructions
1. Download the “seedsigner_X_X_X.zip” file in the current release.
2. Extract the seedsigner .img file
3. Download the Raspberry Pi OS and install
4. Write it to a MicroSD card (at least 4GB in size or larger)
5. Then install the MicroSD in the assembled hardware and off you go.

Software Authenticity Verification
You can verify the data integrity and authenticity of the latest release with as little as three commands (though moving forward you will have to replace the version in the following commands with the version number you are attempting to validate). This process assumes that you have navigated to a folder where you have these four relevant files present:
gpg --import seedsigner_pubkey.gpgkey <...> not changedgpg --verify seedsigner_0_4_5.img.zip.sha256.sigGood signature from "seedsigner " [unknown] The previous command validates that aforementioned small text file was signed using the private key that matches the published public key associated with the project (an early timestamped record of this public/private key’s creation can be found in this tweet).
The last step is to make sure the .zip file that you’ve downloaded, and that contains the released software, is a perfect match to the software that was published by the holder of the private key in the last step. The command for this step is:
shasum -a 256 -c seedsigner_0_4_5.img.zip.sha256seedsigner_0_4_5.img.zip: OKThere are other steps you can take to verify the software, including examining the hash value in the .sha256 text file, but this one has been documented here because it seems the simplest for most people to follow. Please recognize that this process can only validate the software to the extent that the entity that first published the key is an honest actor, and assumes the private key has remained uncompromised and is not being used by a malicious actor.
